⚡️ Getting Started
In this quickstart guide, you'll learn how to install the Ocean CLI, scaffold a new integration, add your custom logic and run the new integration locally.
Requirements
Python 3.11
Installation
$ pip install "port-ocean[cli]"
Example
Scaffold
$ ocean new

🚢 Unloading cargo... Setting up your integration at the dock.
integration_name [Name of the integration]:
$ myIntegration

integration_slug [myintegration]:
$ my_integration

integration_short_description [A short description of the project]:
$ My custom integration made for Port

full_name [Your name]:
$ Monkey D. Luffy

email [Your address email <you@example.com>]:
$ straw@hat.com

release_date [2023-08-06]:
$ 2023-08-06


🌊 Ahoy, Captain! Your project is ready to set sail into the vast ocean of possibilities!
Here are your next steps:

⚓️ Install necessary packages: Run make install to install all required packages for your project.
▶️ cd ./my_integration && make install && . .venv/bin/activate

⚓️ Set sail with Ocean: Run ocean sail <path_to_integration> to run the project using Ocean.
▶️ ocean sail ./my_integration

⚓️ Smooth sailing with Make: Alternatively, you can run make run to launch your project using Make.
▶️ make run ./my_integration
Scaffolding the project with make new
If you clone the Port Ocean repository to your local machine, you can also use the make new command instead of ocean new to scaffold a new integration project in the integrations folder.
The make command will use the ocean new command behind the scenes.
Develop
- Edit the file
./my_integration/main.pyto add your integration logic.
from typing import Any

from port_ocean.context.ocean import ocean


@ocean.on_resync('project')
async def resync_project(kind: str) -> list[dict[Any, Any]]:
    # 1. Get all projects from the source system
    # 2. Return a list of dictionaries with the raw data of the state
    return [{"some_project_key": "someProjectValue", ...}]


# Optional
# Listen to the start event of the integration. Called once when the integration starts.
@ocean.on_start()
async def on_start() -> None:
    print("Starting integration")
- Edit the file
./my_integration/.port/spec.yamlto add your integration specification.
# The integration name
type: my-jira-integration
description: myIntegration integration for Port Ocean
# The integration icon taken from the icon list in Port
icon: Cookiecutter
features:
  - type: exporter
    # Where in the ingest modal should this integration be shown
    section: Ticket management
    resources:
      # The kinds that this integration can export (if known)
      - kind: <ResourceName1>
      - kind: <ResourceName2>
configurations:
  - name: myJiraToken
    required: true
    type: string
    sensitive: true
  - name: jiraUrl
    type: url
The spec.yml file is used to provide the integration specification and also a validation layer for the inputs required by the integration. The validation layer is used to verify the provided integration configuration during the integration startup process.
- Edit the file
./my_integration/config.yamlto add the default configuration of your integration.
# This is an example configuration file for the integration service.
# Please copy this file to config.yaml file in the integration folder and edit it to your needs.

port:
  clientId: "{{ from env PORT_CLIENT_ID }}" # Can be loaded using environment variable: PORT_CLIENT_ID or OCEAN__PORT__CLIENT_ID
  clientSecret: "{{ from env PORT_CLIENT_SECRET }}" # Can be loaded using environment variable: PORT_CLIENT_SECRET or OCEAN__PORT__CLIENT_SECRET
# The event listener to use for the integration service.
eventListener:
  type: POLLING
integration:
  # The identifier of this integration instance.
  # Can be loaded using environment variable: INTEGRATION_IDENTIFIER or OCEAN__INTEGRATION__IDENTIFIER
  identifier: "{{ from env INTEGRATION_IDENTIFIER }}"
  # These two should match the values in the .port/spec.yaml file
  type: "My Integration type (Gitlab, Jira, etc.)"
  config:
    myJiraToken: "{{ from env MY_INTEGRATION_CONFIG }}"
    jiraUrl: "https://example.com"
The config.yaml file is used to specify the default configuration and parameters for the integration during its deployment phase.
Run
$ cd ./my_integration
$ make install

$ . .venv/bin/activate
$ (my_integration3.11) ocean sail
Setting sail... ⛵️⚓️⛵️⚓️ All hands on deck! ⚓
INFO:     Started server process [50121]
INFO:     Waiting for application startup.
INFO:     Uvicorn running on http://0.0.0.0:8000 (Press CTRL+C to quit)
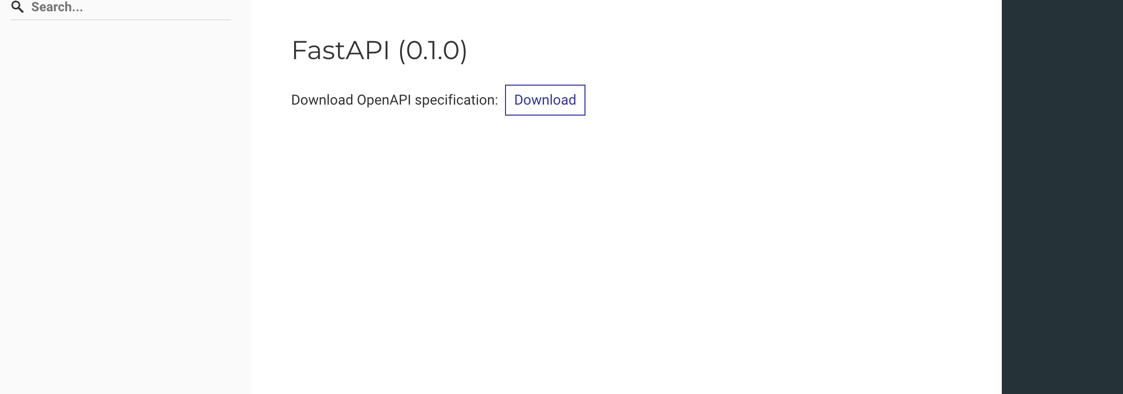
Interactive API docs
An integration comes built-in with a FastAPI server which also provides a REST interface and a Swagger webpage.
To view the routes exposed by your integration open your browser and go to http://localhost:8000/docs. You will see the automatic interactive API documentation for the integration routes (provided by Swagger UI):
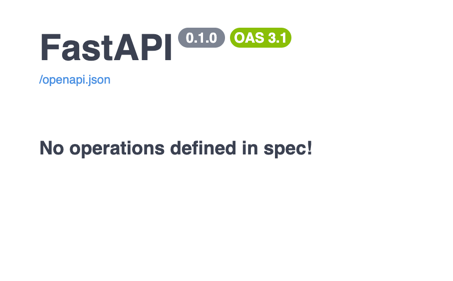
Alternative API docs
There is an alternative to the API docs (provided by Redoc)
Open your browser and go to http://localhost:8000/redoc. You will see the following: